








Deck Guides
  1. Home
  2. /Pauper
  3. /Altar Tron
PrimerMulligansSideboardMatchupsCommunity
© 2026 Deck Guides LLC
AboutTerms of ServicePrivacy PolicyRefund PolicySupport
PrimerMulligansSideboardMatchups
Ashnod's Altar card art representing Altar Tron

Altar Tron

black managreen mana
Save guide

October 2026 · 0.7% Meta · 3 hr 46 minOctober 2026 Version · 0.7% Meta · 3 hr 46 min read

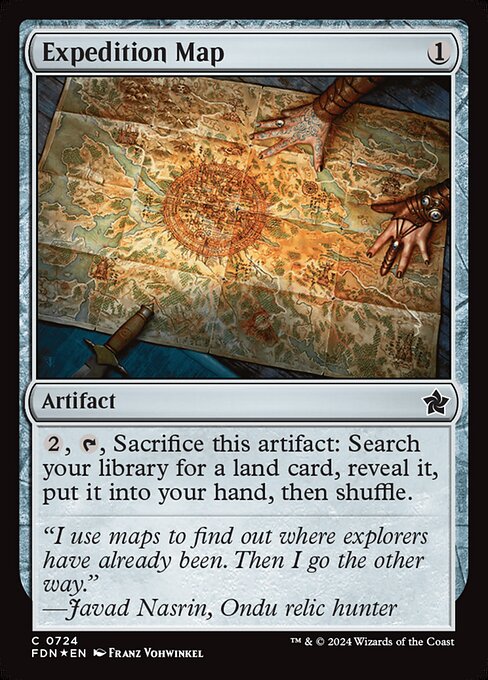
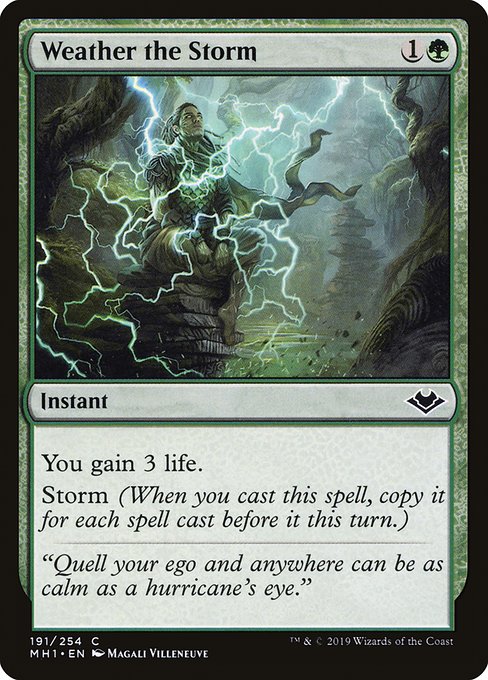
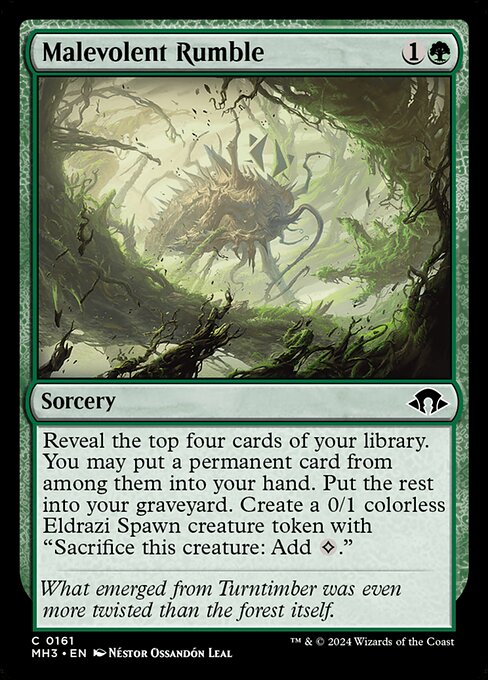
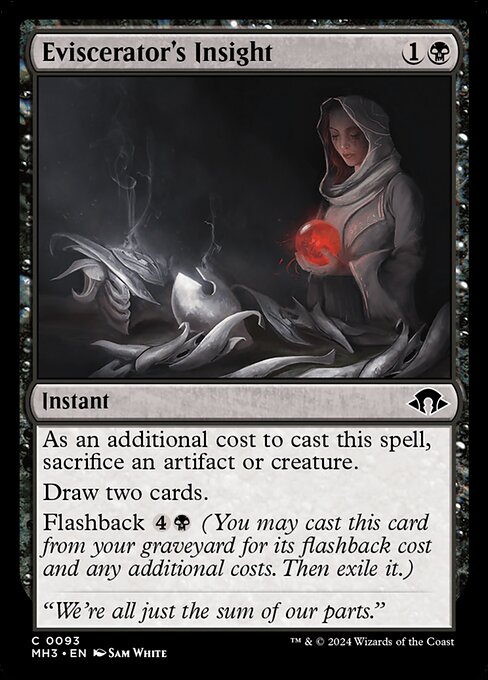
Altar Tron is a combo deck built on the Urza lands. Expedition Map completes the set while Candy Trail, Prophetic Prism, Malevolent Rumble and Eviscerator's Insight dig for the pieces. Once Ashnod's Altar and Golem Foundry are in play, sacrificing a Myr Retriever returns the other from the graveyard and pays for its recast, so the loop runs for free, every recast grows the Foundry, and the deck ends up with unlimited mana, an army of Golems and a Weather the Storm that gains a mountain of life before the Golems attack.

Report an issue

Decklist

Creatures (6)

  • 4Myr Retriever2 mana
  • 2Myr Kinsmith4 mana

Instants (8)

  • 4Eviscerator's Insight1 manablack mana
  • 4Weather the Storm1 managreen mana

Sorceries (4)

  • 4Malevolent Rumble1 managreen mana

Artifacts (24)

  • 1Blood Fountainblack mana
  • 4Candy Trail1 mana
  • 4Expedition Map1 mana
  • 4Giant's Boulder1 mana
  • 1Energy Refractor2 mana
  • 2Ichor Wellspring2 mana
  • 2Prophetic Prism2 mana
  • 3Ashnod's Altar3 mana
  • 3Golem Foundry3 mana

Lands (18)

  • 2Conduit Pylons
  • 2Forest
  • 1Haunted Fengraf
  • 1Slippery Karst
  • 4Urza's Mine
  • 4Urza's Power Plant
  • 4Urza's Tower

Sideboard (15)

  • 2Ancient Grudge1 manared mana
  • 4Moment's Peace1 managreen mana
  • 3Pilfer1 manablack mana
  • 2Fangren Marauder5 managreen mana
  • 4Bramble Wurm6 managreen mana

Altar Tron

  1. Overview
  2. Decklist

Deck Fundamentals

  1. Introduction
  2. General Strategy
  3. The Cards
  4. Role Assignment
  5. Play Patterns

Introduction

Altar Tron is a combo deck that ramps with the Urza lands, sifts through a pile of cheap artifacts that scry and draw, and then loops Myr Retriever through Ashnod's Altar so that Golem Foundry turns the loop into unlimited mana and a board of Golems. It occupies a small slice of the Pauper field at 0.7%, so most opponents will see it only occasionally. The results have been strong for a deck of that size: Jakub Puzio won the September 19 C'mon! Katowice tournament with it, finishing 1st at 9-0-2, and copies have kept posting undefeated runs at paper weeklies and in online leagues through September.

The deck beats control decks that try to answer the loop one artifact at a time, and creature aggro decks whose attacks are slow enough for life gain and chump blocks to hold off until the loop comes together. It is favored against Monster Tron, Dimir Faeries, Bogles, Grixis Affinity, Jeskai Ephemerate, Golgari Gardens, Dimir Terror, White Aggro, and Madness Burn, and slightly favored against Mono Red Madness.

It struggles against combo decks that win before the mana and the loop are assembled, and against midrange decks whose artifact removal and graveyard disruption keep the engine from ever running. It is slightly unfavored against Mono Red Rally, and unfavored against Blue Terror, Elves, Spy Combo, Jund Wildfire, Mono Blue Faeries, Esper Affinity, Familiars, and Flicker Tron.

General Strategy

Altar Tron wants to get Ashnod's Altar, Golem Foundry and a pair of Myr Retrievers together with the Urza lands' mana behind them, and then run a loop that produces as much mana and as many Golems as the game calls for. Everything else in the deck serves that goal: Expedition Map completes the Urza lands, Candy Trail, Prophetic Prism, Malevolent Rumble and Eviscerator's Insight sift through the library for the missing pieces, and Weather the Storm keeps the life total high enough to survive the turns all of that takes. The priority that matters most is keeping the loop whole. Nothing in the deck searches for Ashnod's Altar, and the Retrievers only loop when one of them is in the graveyard or in hand as the other dies, so every choice about what to sacrifice, what to dig for and what to expose to removal is made with the loop's completeness in mind rather than with the current board in mind.

The engine has two halves. The Urza lands are the mana half: Urza's Mine, Urza's Power Plant and Urza's Tower make a single colorless each until all three are in play, at which point the trio taps for seven, and Expedition Map is the way to find whichever one is missing. The loop is the other half. With Ashnod's Altar on the battlefield, sacrificing a Myr Retriever adds two mana, and its death trigger returns the other Retriever from the graveyard to your hand; those two mana recast it, it resolves, and you sacrifice it to return the first one. Each pass through the loop costs nothing overall, and each recast is an artifact spell, so Golem Foundry gets a charge counter every time and turns every third recast into a 3/3 Golem. A Golem is a creature, so it can be sacrificed to the Altar for two more mana, which is where the surplus comes from: three passes through the loop net a Golem, and the Golem nets two mana if you want it, so the loop ends with as much colorless mana, and as many Golems, as you choose. Every recast also raises the storm count, so a cast at the end of the loop gains an enormous amount of life.

The Cards

Ashnod's Altar
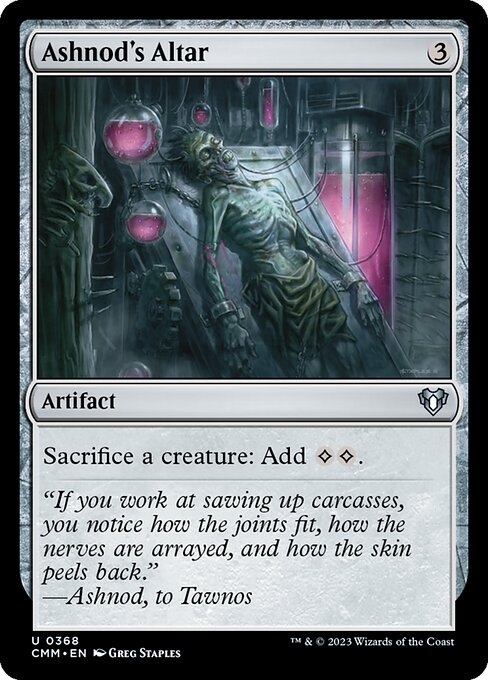
Ashnod's Altar card

The Altar's job is to turn each Myr Retriever into exactly the two mana the next one costs, and outside the loop it converts an Eldrazi Spawn, a Myr Kinsmith or a spare Golem into a burst of mana for a Giant's Boulder activation or an Insight flashback. It does nothing until there is a creature to feed it, so it is usually the last loop piece you put on the table.

Myr Retriever
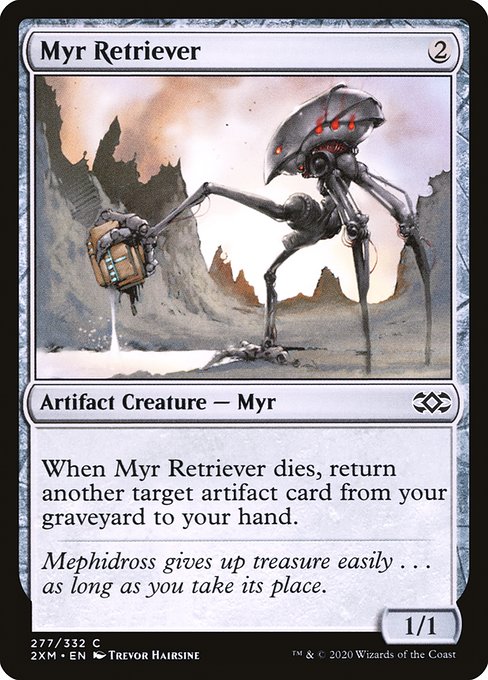
Myr Retriever card

The Retriever is the moving part of the loop and the deck's best insurance policy. Its death trigger returns any other artifact card from the graveyard, so a copy that chump blocks or gets sacrificed to Eviscerator's Insight brings back a countered Ashnod's Altar, a destroyed Golem Foundry, or a spent Expedition Map to find another land. The loop wants one Retriever on the battlefield and the other in the graveyard or in hand, which is why you let a spare copy die or get binned rather than protecting it. As a 1/1 for two it is also the deck's earliest body and a willing chump blocker.

Golem Foundry

Golem Foundry card

The Foundry is the win condition. It counts only the artifact spells cast while it is already on the battlefield, so it goes down before Ashnod's Altar and before any other artifacts you plan to cast that turn. Inside the loop every third recast makes a 3/3 Golem; outside the loop it still rewards the deck's natural flow of cheap artifacts with a Golem every few turns. Removing the counters costs no mana and works at instant speed, so a Golem can appear as a surprise blocker after attackers are declared, at the opponent's end step, or in response to removal aimed at the Foundry itself.

Role Assignment

Altar Tron is a linear combo deck with high inevitability and very little interaction: Giant's Boulder is the only removal in the main deck, and it costs seven mana to fire. The deck's role in any matchup is decided by three questions. Can the opponent keep Ashnod's Altar off the table faster than Myr Retriever can buy it back? Can they exile the graveyard at the moment the loop depends on it? And is their clock faster than the turns the Urza lands and the loop take to assemble, which is usually not before the mid game?

Vs. Aggro. Against creature aggro and burn you are the control deck, whatever the deck's combo heart suggests. Their plan is to win during the turns you spend assembling, so the whole early game is about buying time: chump block with Myr Retriever and Eldrazi Spawn tokens, hold Golem Foundry's counters so a 3/3 appears after attackers are declared, and cast Weather the Storm after a run of cheap artifacts rather than as a two-mana instant. The play that defines the role is deliberately spending a turn on cheap artifacts and a stormed Weather the Storm instead of deploying an exposed loop piece. The loop's inevitability means time is all you need.

Vs. Midrange. Against decks that trade one for one you are the control deck with the better late game. Their removal and discard are pointed at Ashnod's Altar and Golem Foundry, so the contest is their answers against the sheer number of artifacts you can replace and return. The defining play is sequencing to absorb the answers: cast Golem Foundry and the filter artifacts first and let them draw the removal, and keep a Myr Retriever ready to die so a destroyed Altar comes straight back. The one exception to the attrition posture is graveyard exile: against a deck that carries it, the second Retriever is safer in hand than in the graveyard, and the loop waits until the hate has been baited out or destroyed by Giant's Boulder.

Against counterspells and sweepers you are the beatdown, since your plan is proactive and tempo-positive and theirs is to answer each piece. A single counter on is the thing to fear, and the role is about making every counter cost them: a countered Altar goes to the graveyard where a dying returns it, and keeps making Golems off the cheap artifacts they cannot afford to counter. The defining play is presenting the Foundry early and attacking with its Golems while sandbagging the Altar until they have tapped low or spent a counter on something else. is close to dead here and is the card to cut first.

Play Patterns

  1. Let a spare Myr Retriever go to the graveyard instead of keeping it safe in hand. The loop wants one Retriever on the battlefield and one in the graveyard, because the first one's death trigger is what returns the second. A copy that Malevolent Rumble reveals and does not take is already in position, and a copy that chump blocks or pays the extra cost of Eviscerator's Insight returns another artifact on its way there. The exception is an opponent who carries graveyard exile; against them the second copy is safer in hand, where the loop can still start by casting it alongside the first.

  2. Start the loop as soon as Ashnod's Altar, Golem Foundry and one Myr Retriever are on the battlefield with a second Retriever in hand or in the graveyard, even with no mana left. Each sacrifice makes exactly the two mana the next Retriever costs, so the loop pays for itself from the first step and the Golems it produces add mana on top. That means you can spend the whole turn's mana putting the missing pieces into play and still run the loop immediately, instead of passing the turn with the Altar and Foundry exposed to removal.

  3. When Expedition Map can fetch the last Urza land you are missing, activate it before casting dig spells or card-drawing artifacts. Completing Urza's Mine, Urza's Power Plant and Urza's Tower takes three lands from three mana to seven, so everything you skipped this turn gets cast together next turn with mana to spare. Digging first and assembling afterwards leaves you four mana short every turn until the set is finished.

  4. Cast Golem Foundry before Ashnod's Altar and before any other artifact you plan to play in the same turn. The Foundry only counts artifact spells cast while it is already on the battlefield, so every artifact played ahead of it is a lost counter, while an Altar cast afterwards is a counter gained. The Altar does nothing until there is a creature to sacrifice, so it loses nothing by coming second.

Continue to Mulligans→
Weather the Storm

A game runs in three phases. The setup is spent completing the Urza lands while the cheap artifacts and dig spells find the loop pieces: Candy Trail and Giant's Boulder scry as they enter, Prophetic Prism and Ichor Wellspring draw, Malevolent Rumble and Eviscerator's Insight dig deeper, and Myr Kinsmith searches up a Myr Retriever directly. The payoff comes once Ashnod's Altar and Golem Foundry are in play with one Retriever on the battlefield and another in hand or in the graveyard: you run the loop for as many Golems as you want, then end the turn with Weather the Storm for a life total the opponent cannot realistically attack through. The close is combat on the following turn, when the Golems made by Golem Foundry attack as a group. The Golems have no haste, so the opponent always gets one turn to find an answer, and the giant life total is what makes that turn safe.

When the loop is broken, the deck plays a long, fair game instead of folding. Golem Foundry still turns every three artifact casts into a 3/3, which is a real clock on its own in a deck that casts an artifact or two every turn. A Myr Retriever that dies as a blocker or as the extra cost of Eviscerator's Insight returns a countered or destroyed Ashnod's Altar or Golem Foundry from the graveyard, Blood Fountain brings back up to two Retrievers at once, and the flashback on Eviscerator's Insight and the cash-in on Candy Trail keep the hand full. Weather the Storm and chump blocks buy the turns, and once the Urza lands are complete, Giant's Boulder destroys whatever single permanent is in the way. Then you rebuild the loop.

The deck is weakest to two things. The first is graveyard exile at instant speed: the loop returns each Myr Retriever from the graveyard, so an opponent who exiles the graveyard with the return trigger on the stack removes both the targeted Retriever and the one that just died, and the loop stops cold. Blood Fountain, Haunted Fengraf and the flashback on Eviscerator's Insight die to the same effect. The second is any answer aimed at Ashnod's Altar: the list runs three and nothing searches for it, so a counterspell, a discard spell or artifact removal on the Altar sets the deck back several turns. A dying Retriever can return a countered or destroyed Altar, so the setback is not always final, but exile, or removal followed by graveyard exile, is.

Myr Kinsmith

Myr Kinsmith card

A four-mana 3/1 whose real job is the search: it finds a Myr Retriever on entering, which turns a hand with the Altar and Foundry but no Retriever into a live one. Once the Retriever is in hand the Kinsmith is a creature for Ashnod's Altar to sacrifice for two mana, an extra cost for Eviscerator's Insight, or a blocker that trades with most early attackers.

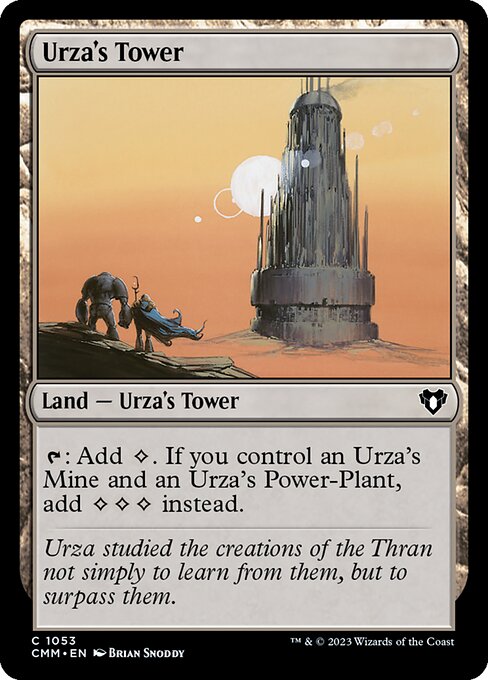
Urza's Tower

Urza's Tower card

The Tower, Urza's Mine and Urza's Power Plant are the mana engine: a single colorless each on their own, seven mana from three lands once all three types are in play. That jump is what lets you cast a Foundry and an Altar in the same turn, flash back Eviscerator's Insight, or fire Giant's Boulder off the three lands alone. The set makes only colorless mana, so the green and black spells always depend on a Forest, Slippery Karst, Conduit Pylons or a filter artifact.

Expedition Map

Expedition Map card

The Map finds any land, and its first job is the missing Urza land. When it can complete the set, activate it before casting dig spells or card-drawing artifacts: finishing the set more than doubles your mana, so everything you held back gets cast a turn later with mana to spare. It also finds Conduit Pylons when colored mana is the problem and Haunted Fengraf when you need a Retriever back. The land goes to your hand, not the battlefield, so it still uses your land drop for the turn.

Weather the Storm

Weather the Storm card

Each copy gains 3 life and storm copies it once for every spell cast earlier in the turn, so after three cheap artifacts it gains 12 and in the middle of the loop it gains more life than any opponent can deal. The copies are made as the spell is cast and resolve even if the original is countered. That scaling is why you cast it on your own turn after your other spells rather than holding it like a normal instant, and why a single copy early is often the difference between surviving to the loop and not. It needs one green mana, which a filter artifact can make from the Urza lands' colorless.

Malevolent Rumble

Malevolent Rumble card

Rumble looks at four cards, keeps one permanent, and puts the other three into the graveyard, which in this deck is often as valuable as the card kept. A Myr Retriever passed over is already in position for the loop, an Eviscerator's Insight passed over can be flashed back, and the Eldrazi Spawn token it makes is a chump blocker, an extra cost for Insight, or two mana through Ashnod's Altar instead of the one it makes on its own. It is the main reason to want green mana early.

Eviscerator's Insight

Eviscerator's Insight card

Two mana to draw two cards, with a five-mana flashback that the completed Urza lands pay for easily once a filter artifact or Conduit Pylons supplies the black. The extra cost of sacrificing an artifact or creature is a feature here: an Ichor Wellspring fed to it draws a third card, a Myr Retriever fed to it returns an artifact on the way out, and an Eldrazi Spawn costs nothing you still wanted. The trap is a hand whose only permanents are loop pieces, where the Insight is stuck or eats an Altar; keep a cheap artifact in play to feed it.

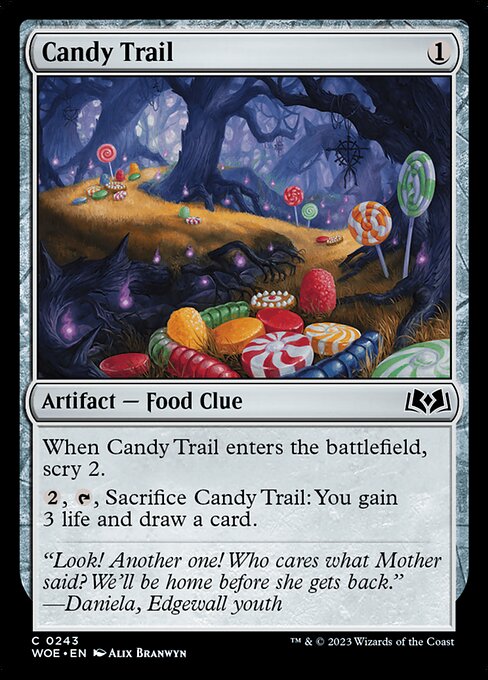
Candy Trail

Candy Trail card

A one-mana artifact that smooths the first draws with a scry 2, adds a Foundry counter when cast, and later cashes in for a card and 3 life once the Urza lands have mana to spare. It is the cleanest card to hold on the battlefield as fodder for Eviscerator's Insight, and a dying Myr Retriever can return a used copy for another scry and another counter.

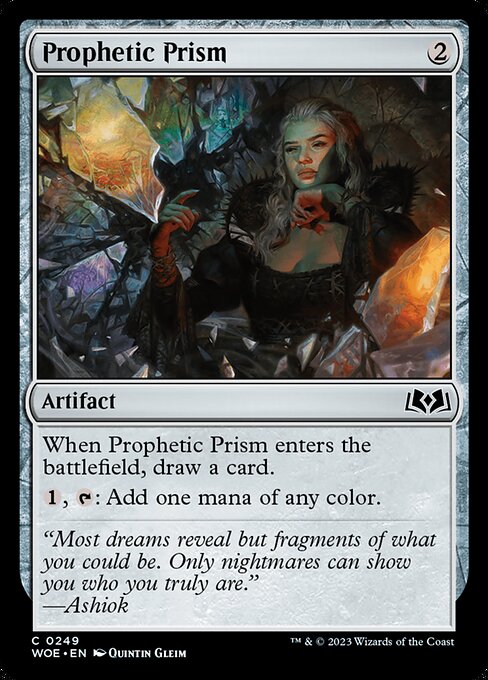
Prophetic Prism

Prophetic Prism card

The Prism draws a card when it enters and then fixes the Urza lands' colorless into the green and black the dig spells need, one mana per turn. It is one of several ways to cast Malevolent Rumble or Eviscerator's Insight off a hand of Urza lands, and Energy Refractor fills the same role with no tap in its filter, so during the loop it converts unlimited colorless into unlimited colored mana.

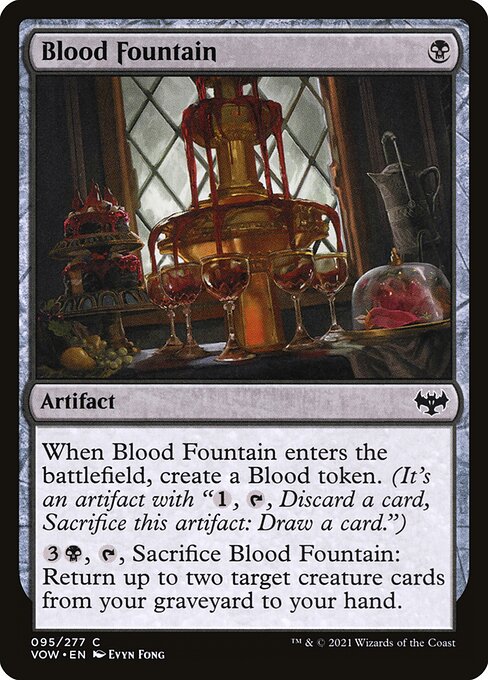
Blood Fountain

Blood Fountain card

The Fountain is the backup recursion. For a single black mana it enters with a Blood token, giving two artifacts for one spell (though only the Fountain itself is cast, so only it adds a single Foundry counter), and later it taps and sacrifices itself to return up to two Myr Retrievers from the graveyard to hand, rebuilding the loop after the Retrievers have been killed or sacrificed. The Blood token pays one mana, taps, discards a card and sacrifices itself to draw, which turns a surplus loop piece into a fresh card.

Giant's Boulder

Giant's Boulder card

The Boulder is three cards in one slot: a one-mana scry 2 on the way in, a color filter for the rest of the game, and the deck's only main-deck removal, which for seven mana taps and sacrifices itself to destroy any permanent at instant speed. That price means it answers one key permanent in the mid or late game, usually the piece of hate aimed at the graveyard or the loop, rather than anything in an early rush. Play it early for the scry and the fixing, then leave it on the table until the Urza lands can pay for the activation.

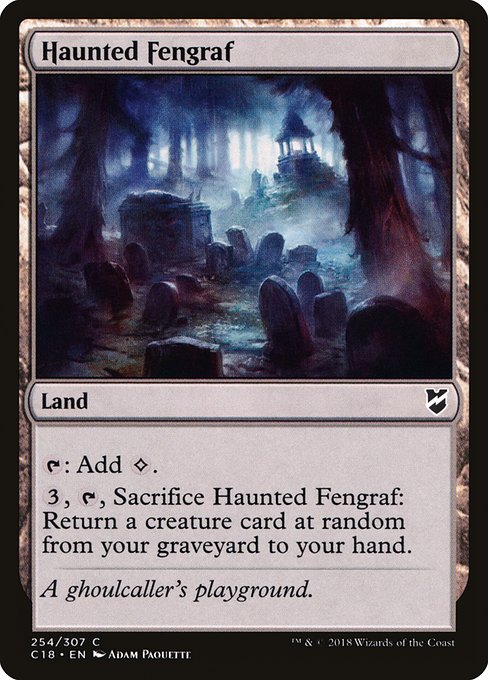
Haunted Fengraf

Haunted Fengraf card

A colorless land that taps for mana until you need it, then sacrifices itself for three mana to return a creature card at random from your graveyard. The only creature cards in the deck are Myr Retriever and Myr Kinsmith, so the random pick is the Retriever you want more often than not. Expedition Map can find it when the loop needs a Retriever back and Blood Fountain is not available.

Vs. Control.
Ashnod's Altar
Myr Retriever
Golem Foundry
Weather the Storm

Vs. Combo. Against another deck that ignores the board you are the beatdown by necessity: the main deck has little interaction with a spell-based kill beyond the life Weather the Storm can gain in response, and Giant's Boulder is the only way to break a key permanent, at a price you reach only once the Urza lands are complete. The matchup is a pure race between their clock and your assembly, so dig aggressively with Malevolent Rumble and Eviscerator's Insight for the fastest loop rather than the safest, and remember that your Golems need a turn to attack, so a loop that fires a turn too late loses to a kill on their next turn. The defining play is activating Expedition Map for the last Urza land before anything else, because the extra mana shortens your clock more than digging first would.

  • Cast Weather the Storm on your own turn after your other spells, not on the opponent's turn like a normal instant. Storm copies it once for every spell cast earlier in the turn, so after a run of cheap artifacts, or in the middle of the loop, it gains several times as much life, and the copies resolve even if the original is countered. Hold it for the opponent's turn only when the life it gains right then is what keeps you alive.

  • Hold Golem Foundry's charge counters and make the Golem at instant speed rather than the moment the third counter arrives. The ability costs no mana and can be used any time you have priority, so an unmade Golem is a surprise blocker that sorcery-speed removal and sweepers never see, and one made at the opponent's end step is ready to attack or be sacrificed on your turn just the same. If the Foundry itself is targeted you respond by removing the counters, so waiting costs almost nothing.