








Introduction
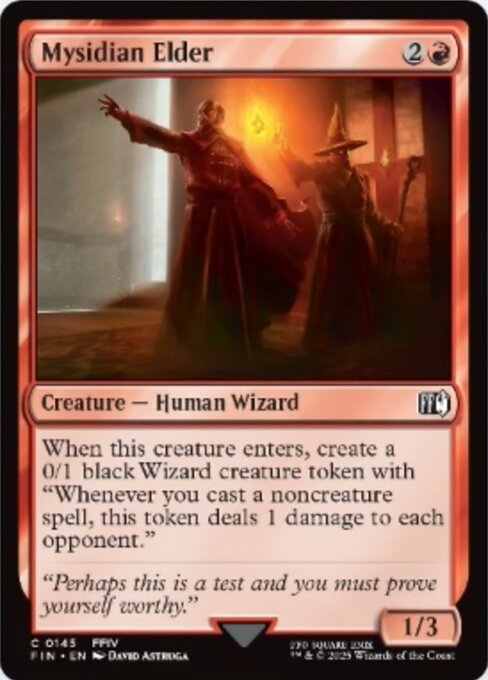
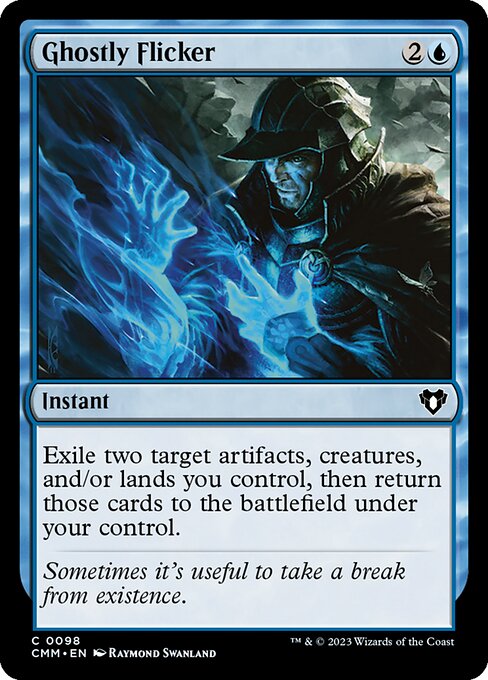
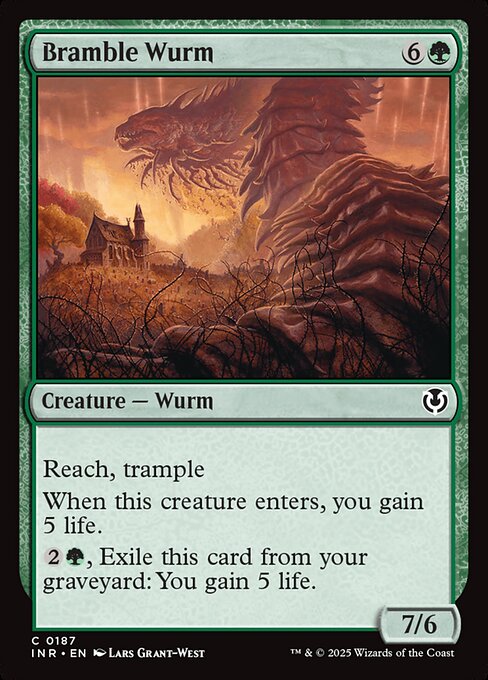
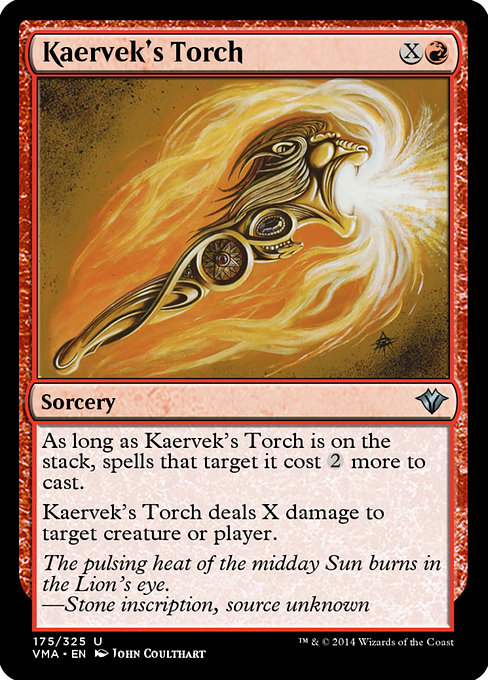
Flicker Tron is a ramp deck that assembles Urza's Tower, Urza's Mine and Urza's Power Plant for a mana lead no fair deck can match, spends that mana on cheap artifacts that scry and draw, and wins because every one of those spells makes the Wizard tokens from Mysidian Elder deal damage to the opponent, with Ghostly Flicker adding Wizards and Bramble Wurm and Kaervek's Torch finishing what the pings started. It is a small slice of the field at 1.3%, but it has been putting up results: ManM23 took 4th of 1,086 players at the Paupergeddon Summer 2026 Main Event on July 11, lumely finished 2nd in the MTGO Pauper Challenge on August 16, and copies have kept posting 5-0 league finishes through late September.
The deck does best against slower decks built around a value engine, where its mana lead and repeated card draw outlast a fight over a few key permanents. It is favored against Dimir Terror and White Aggro, and slightly favored against Grixis Affinity and Familiars.
It struggles against fast creature decks that attack before the Urza's lands come together and against decks that back cheap creatures with counterspells aimed at its few payoffs. It is slightly unfavored against Mono Red Madness and Madness Burn, and unfavored against Blue Terror, Elves, Dimir Faeries, Spy Combo, Jund Wildfire, Mono Blue Faeries, Bogles, Gruul Ponza, Esper Affinity, Golgari Gardens, Gruul Ramp, and Black Sacrifice.
General Strategy
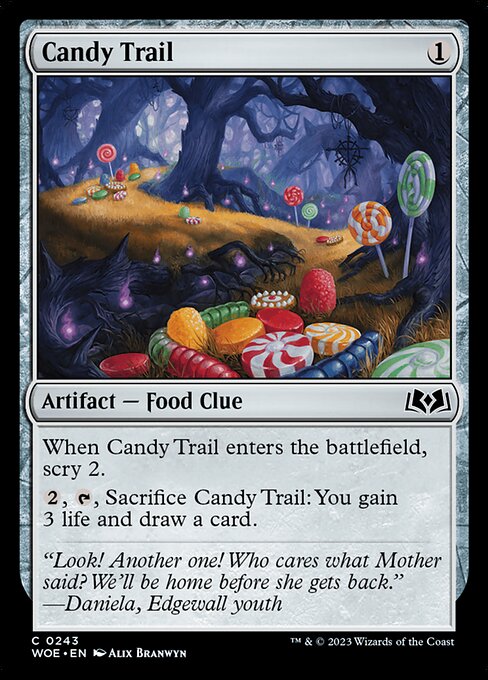
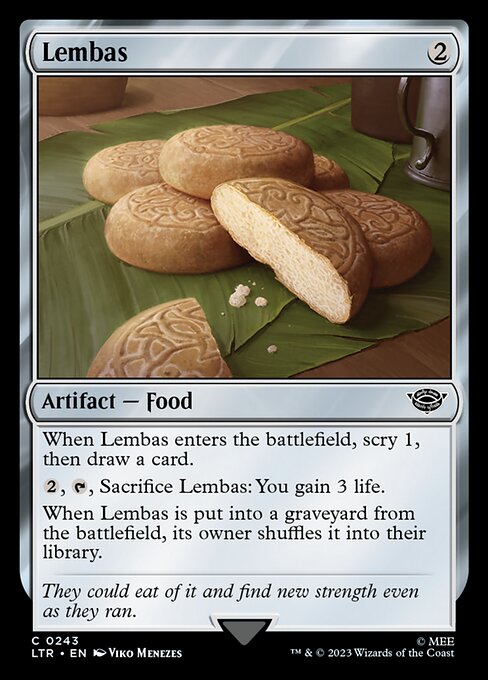
Flicker Tron wants to have more mana than the opponent as early as possible and then turn every spare point of it into damage. Urza's Tower, Urza's Mine and Urza's Power Plant together produce a flood of colorless mana, and the deck fills that mana with cheap artifacts such as Candy Trail, Giant's Boulder and Lembas, each of which scries or draws on the way in. Once Mysidian Elder is on the battlefield, every one of those artifacts also makes its Wizard token deal damage to the opponent, and Ghostly Flicker returns the Elder for another Wizard so that each later spell hits harder. The priority that decides most games is finding the missing Urza's land: every early play should dig toward it, because Mysidian Elder can come down early but the bigger payoffs, such as the seven-mana Bramble Wurm, wait on that mana.
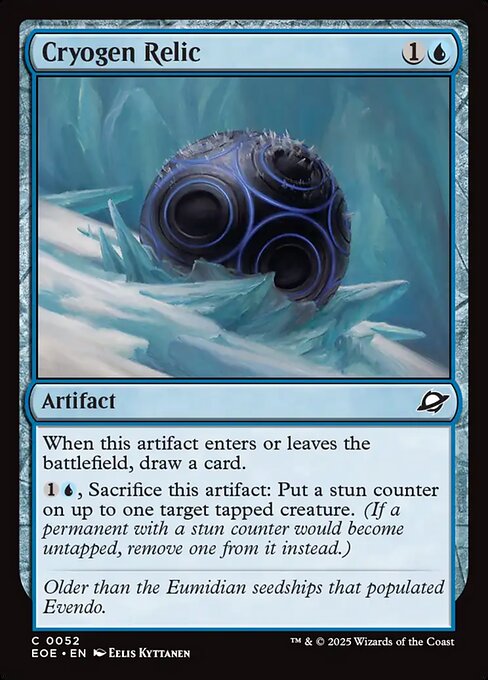
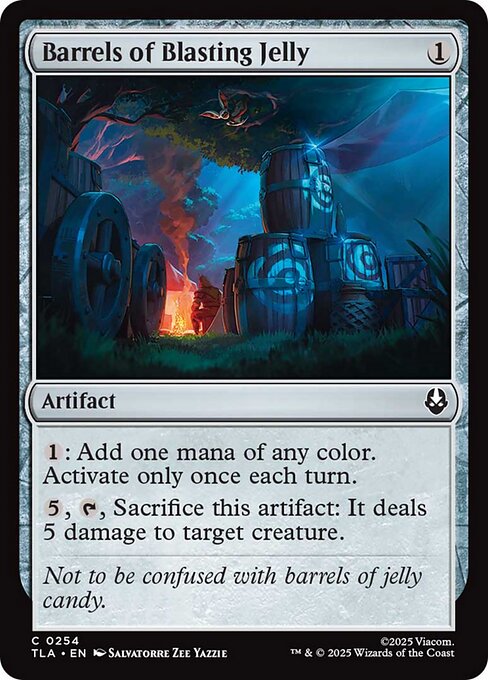
The engine starts with the lands. The three Urza's lands make seven mana between them, Expedition Map finds whichever one is missing, and Giant's Boulder, Barrels of Blasting Jelly and Conduit Pylons turn colorless mana into the blue, red and green the spells need. That mana runs a stream of one- and two-mana artifacts, Candy Trail, Giant's Boulder, Lembas and Cryogen Relic, and each of them is a noncreature spell, so with Mysidian Elder in play every Wizard token deals 1 damage to the opponent as it is cast. Ghostly Flicker exiles two of our permanents at instant speed and returns them, re-using their enter triggers: a new Wizard from the Elder, two fresh cards from , two from (one as it leaves, one as it comes back), and the Flicker is itself a noncreature spell that pings on the way. Nothing in the deck returns from the graveyard, so this is a repeatable value engine rather than an infinite loop, and each copy has to be spent on the moment that earns the most.
The Cards
Urza's Tower
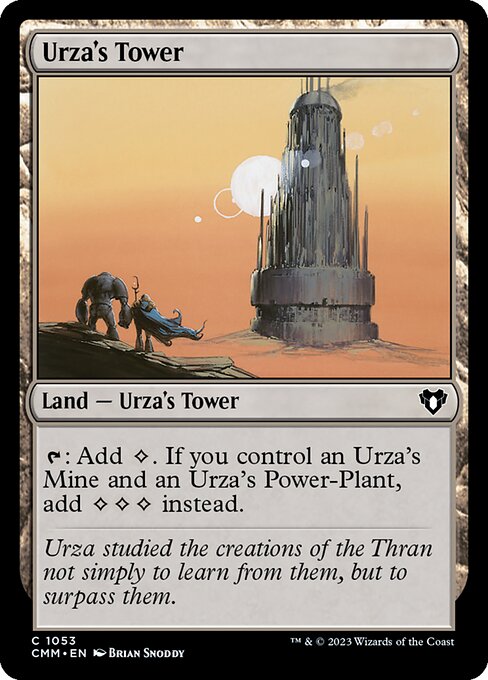
The biggest of the three Urza's lands and the one that makes the full set worth seven mana rather than six. It is the piece to prioritize when Expedition Map has a choice, since a hand with Mine and Power Plant but no Tower is stuck on one mana per land. Once all three are down, a flickered Tower comes back untapped and taps for three again, which pays for the Ghostly Flicker that moved it.
Urza's Mine
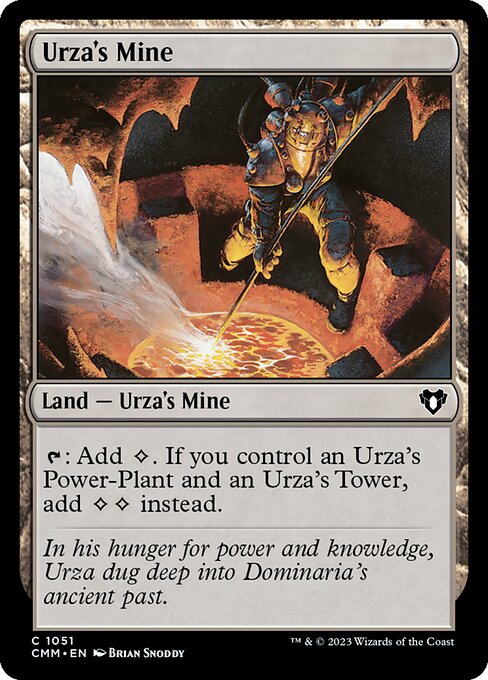
One of the two smaller halves of the set, worth two mana once the other two Urza's lands are in play and one on its own. With the full set assembled, it is the land you tap first when you only need a little mana, keeping Urza's Tower untapped for the bigger spell later in the turn.
Urza's Power Plant
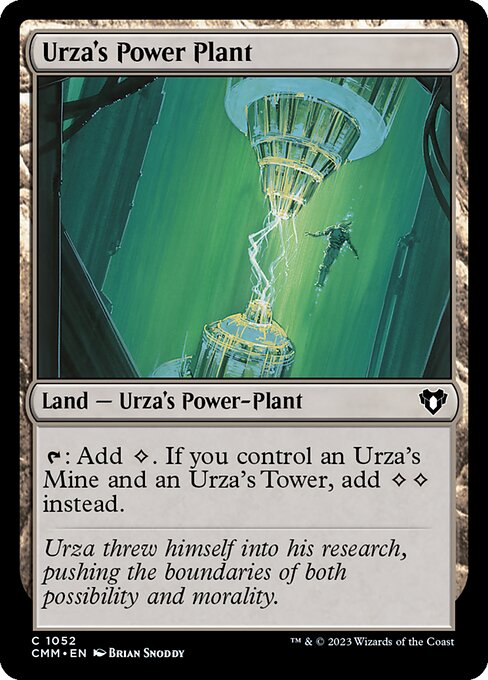
The other two-mana half of the set, identical in function to Urza's Mine. Drawing a second copy of either of the smaller lands is a common way to be stuck one piece short, which is why the early artifacts are spent digging rather than held.
Expedition Map
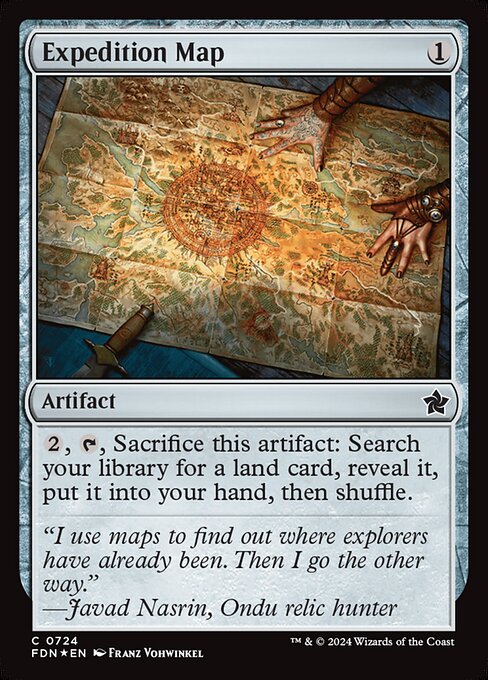
The most reliable way to complete the Urza's lands: one mana to cast, two to crack, and it finds any land in the deck. Most games it fetches the missing Urza's land, but it also fetches Bojuka Bog when the opponent's graveyard matters or the single Island or Forest when colored mana is the problem. Crack it before casting a scry artifact, since the search shuffles the library and would undo the scry.
Role Assignment
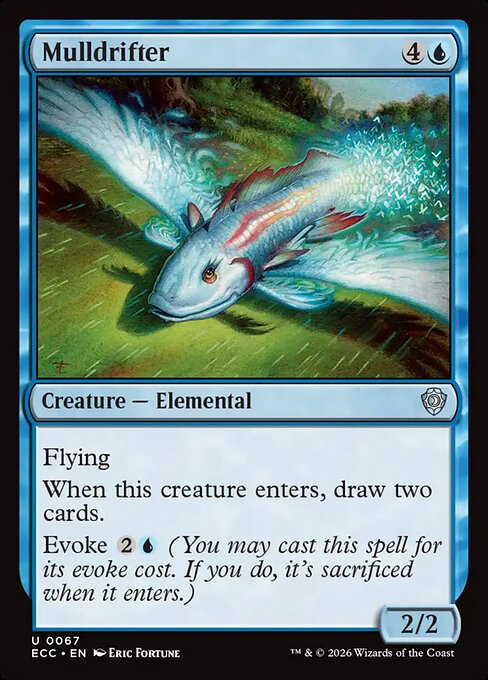
Flicker Tron is a ramp deck with a semi-interactive shell and very high inevitability: if the game goes long, the mana lead, the two-for-ones from Mulldrifter, Cryogen Relic and a flickered Mysidian Elder, and the Wizards' repeatable damage win almost every long game. Its interaction is real but mana-hungry and narrow: Barrels of Blasting Jelly and a Kaervek's Torch aimed at a creature for removal, Giant's Boulder at seven mana for any permanent, and Bojuka Bog for the graveyard, with no counterspells and no sweeper in the maindeck. Every matchup is fought along a few axes: how fast the three Urza's lands come together against the opponent's ability to race or destroy them, whether 0/1 Wizards survive one-damage effects, how the slow first turns hold up against early pressure, the fight over the few payoffs, and whether the fixing artifacts that carry every colored spell stay on the battlefield.
Vs. Aggro. Against aggro you are the control deck, and an uncomfortable one, because the first turns only scry and draw while the opponent attacks. The job is to survive to the point where the engine takes over, not to race: Bramble Wurm is the card that flips the board, blocking fliers and ground creatures alike with reach and gaining 5 life on arrival, and Barrels of Blasting Jelly is reserved for the creature doing the most damage. The defining play is spending Ghostly Flicker on Bramble Wurm for another 5 life even when Mysidian Elder is not there to take the second target for another Wizard; the damage can wait, the life total cannot.
Vs. Midrange. Against midrange you are the control deck by default and the beatdown only once the Urza's lands are assembled. Their plan is to trade one for one with efficient creatures and removal, and every trade they make is a losing one against a deck whose best spells draw two cards and whose creatures come back for a second enter trigger. The play that shows the role is a hard-cast followed by on it and at the end of their turn, four cards for one spell, while their removal finds nothing worth killing.
Play Patterns
Spend Candy Trail, Giant's Boulder, Lembas and Cryogen Relic in the first turns to find the Urza's lands instead of saving them for Wizard pings. Until all three lands are down, each cheap artifact is a look at the missing piece and often the colored mana the payoffs will need, and that is worth far more than a point of damage later; holding them stalls a deck that plays few lands and depends on finding the right ones. The exception is a turn where Mysidian Elder is castable as well: cast the Elder first so that every artifact that follows pings.
Shuffle first, scry second: crack Expedition Map or sacrifice Lembas before casting Candy Trail or Giant's Boulder, not after. Both the Map's search and the Lembas returning to the library shuffle it, which throws away whatever order a scry left: the card you kept on top is gone before you draw it, and the cards you sent to the bottom are back in the mix. Played in the right order, the same shuffle is a free way to clear a top card you already know you do not want, and the scry that follows looks at a fresh library.
Cast Ghostly Flicker on an evoked Mulldrifter while its sacrifice trigger is still waiting on the stack. Evoking puts two triggers on the stack, the draw and the sacrifice; let the draw-two resolve, then flicker the Mulldrifter in response to the sacrifice. The Mulldrifter that returns is a new creature that was never evoked, so the sacrifice finds nothing, and you have drawn two cards and kept a 2/2 flier for less mana than hard-casting it and flickering it later. Waiting for the first draw to resolve also means the Flicker's second target is chosen with the new cards in hand. The line needs two blue mana in one turn, so it takes two blue sources from among the Island, Conduit Pylons and the fixing artifacts, since each of those makes only one colored mana a turn.
Against open removal mana, hold as the answer to the removal aimed at or instead of casting it first. Flickered in response, the creature comes back as a new permanent the removal spell can no longer find, and its enter trigger still pays out, a fresh Wizard or another 5 life. Cast proactively, the Flicker lets the opponent kill the creature in response, which leaves only the other target flickered, or kill it the moment it returns, having lost nothing. The instant-speed Flicker is worth more as insurance than as a main-phase value play whenever the opponent is holding mana up.